
Technical article
Add Azure AD Group to local Windows file Share
If you have an Azure-exclusive environment and wish to include cloud users in a local file share you can either login with each account separately and then add them via command line using the command below.
net localgroup <group name> /add AzureAD\<username>This works well if you have a small number of users, but if you want to use a group it takes a bit of extra work.
- First login to the Azure portal and create the group.
- Now we need another Azure Security group to hold the device that will house the share.
- Click on Properties and get the Object ID for the group.
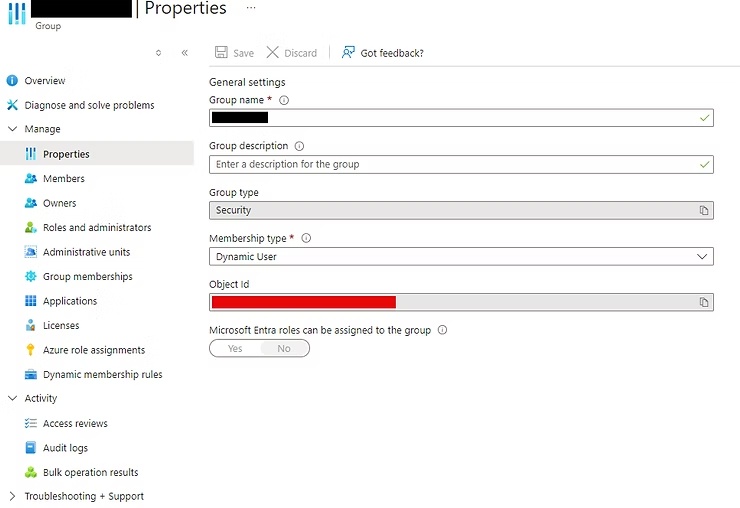
Use Graph Explorer to get the group SID.
https://graph.microsoft.com/v1.0/groups/<groupid>- Copy the security identifier; we will use it later.
- Login to Intune management center and create a new device configuration policy.
- Click Create.
- Choose "Windows 10 and later" for Platform.
- Select "Templates".
- Select "Custom".
- Click "Create".
- Give your new policy a name.
- Under Configuration Settings OMA-URI click Add.
OMA-URI:
./Device/Vendor/MSFT/Policy/Config/RestrictedGroups/ConfigureGroupMembershipData Type: String
Value:
<groupmembership>
    <accessgroup desc = "<Local Group Name>">
        <member name = "<Security Identifier Copied earlier>" />
    </accessgroup>
</groupmembership>- Add the group you created to hold the device.
- Once the device syncs with the policy the SID should show up as a member of the local group.
- You can now use that local group to assign permissions as you normally would.
Terminology note: Microsoft now uses the name Microsoft Entra ID for what was formerly Azure Active Directory. This article keeps the original Azure AD terminology because it matches the command syntax and the original 2024 article.